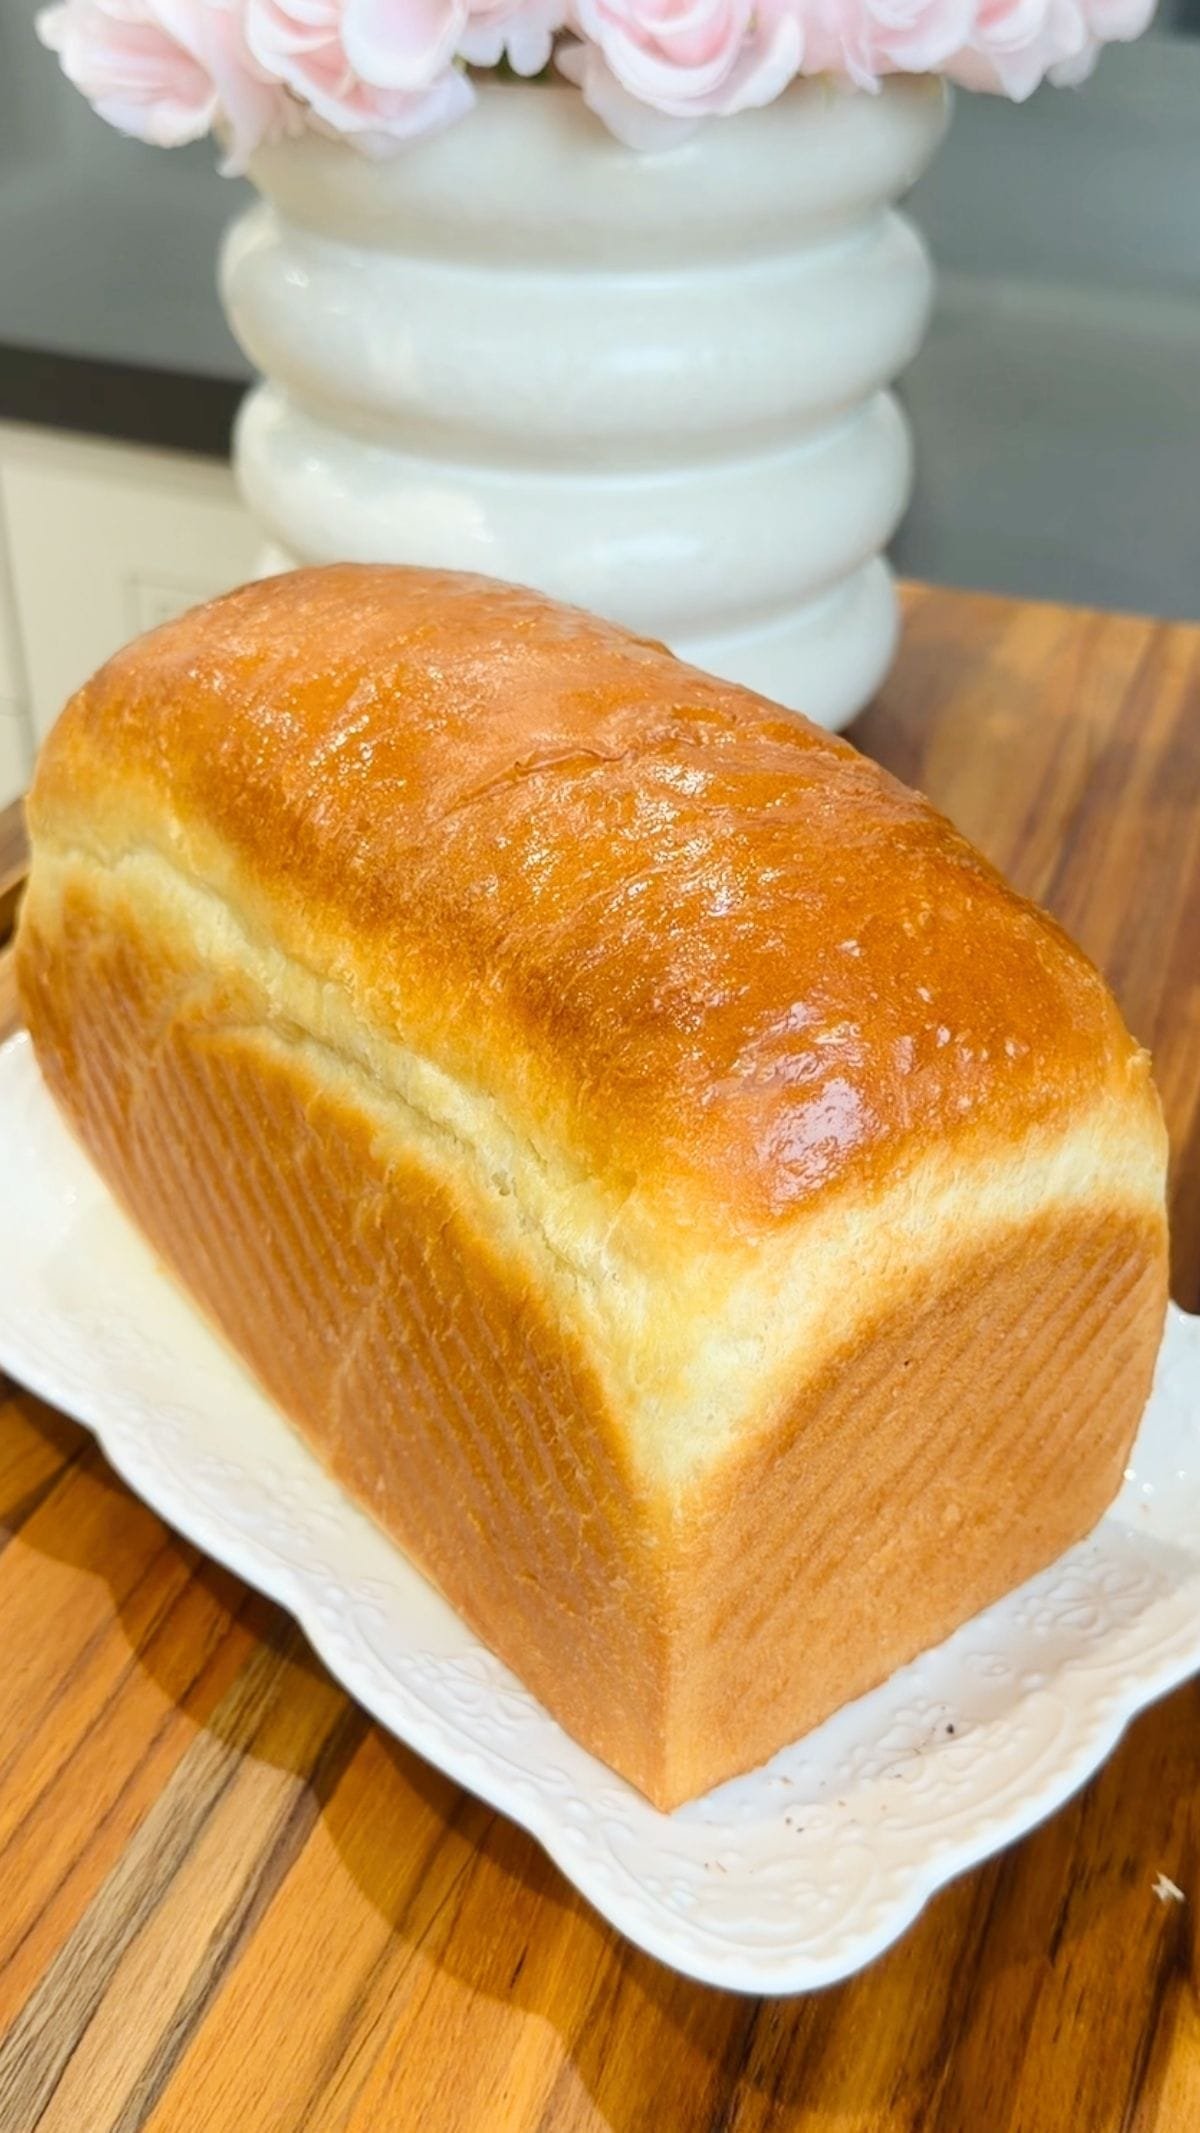
Baking bread at home is one of the most rewarding kitchen projects you can ever start. If you have been keeping a sourdough starter on your kitchen counter, you already know that discarding a portion of it every day can feel like a waste. Throwing away that bubbly flour mixture is never fun, especially when you think about the time and care you put into growing it. This easy recipe brings that unused sourdough discard back to life by transforming it into a classic, soft, white bread that tastes just like the store bought loaves you grew up loving. Wonder bread has always been a household favorite because it is pillow soft, tender, and perfect for making everyday sandwiches. By combining the rich flavor of your sourdough discard with the nostalgic texture of traditional white sandwich bread, you get the absolute best of both worlds in every single slice you bake.
People absolutely adore this recipe because it takes away all the stress that usually comes with sourdough baking. Traditional sourdough loaves often require hours of stretching, folding, complex timing, and waiting for natural wild yeast to slowly rise. This recipe uses a little bit of commercial baker yeast alongside your sourdough discard to speed up the process while still giving you that wonderful fermented flavor. That means you get a soft, fluffy sandwich loaf in just a few hours without needing any special skills or equipment. The resulting bread has a tight crumb that holds butter, jam, and sandwich meats without falling apart or dropping crumbs everywhere. Children love how soft the crust turns out, and adults love the mild sour undertone that adds depth to an otherwise simple slice of bread. It is truly a crowd pleaser for every member of the family.
There are so many great reasons to make this bread, whether you are looking for a relaxing weekend baking project or a way to save money on your weekly grocery bill. Baking your own sandwich bread allows you to completely control every single ingredient that goes into your food, which is great for anyone trying to eat cleaner and avoid artificial preservatives. Making a fresh loaf fills your home with the warm, comforting smell of baked goods, bringing a sense of cozy joy that instantly improves your mood. From a taste perspective, fresh homemade bread beats store bought packages every time because it lacks that strange commercial aftertaste and chemical smell. If you are focused on wellness, using sourdough discard helps make the grains easier to digest while giving you a delicious, wholesome source of daily energy to power through your busy schedule.
Whether you want to pack better school lunches, make the ultimate grilled cheese sandwich, or simply practice your home baking skills, this sourdough discard loaf is the perfect recipe to master. You do not need an expensive bread machine or fancy banneton baskets to get a picture perfect loaf of white bread. All you need are a few basic pantry staples, a regular loaf pan, a big mixing bowl, and your trust in the simple process of bread making. As you knead the dough and watch it double in size, you will feel a deep sense of accomplishment that only homemade cooking can bring. Once you pull that golden brown loaf out of your oven and brush the top with melted butter, you will probably never want to buy plastic wrapped sandwich bread from the grocery store ever again.
Ingredients You Will Need
To make one full sized sandwich loaf, gather these simple pantry ingredients:
-
Unbleached all purpose flour: 500 grams (about 4 cups)
-
Sourdough discard: 200 grams (about 1 cup, unfed and at room temperature)
-
Warm water: 200 milliliters (about 3/4 cup plus 2 tablespoons)
-
Whole milk: 100 milliliters (about 1/3 cup plus 1 tablespoon, warmed)
-
Instant yeast or active dry yeast: 7 grams (1 packet or 2 and 1/4 teaspoons)
-
Unsalted butter: 40 grams (3 tablespoons, softened to room temperature)
-
Honey or granulated white sugar: 25 grams (about 1 and 1/2 tablespoons)
-
Fine sea salt: 10 grams (about 1 and 1/2 teaspoons)
-
Melted butter: 1 tablespoon (for brushing on top after baking)
Step by Step Method
Step 1: Warm Your Liquids
Start by warming your water and milk together in a small saucepan or a glass measuring cup in the microwave. The mixture should be warm to the touch but not boiling hot. Aim for a comfortable bath temperature. If your liquid is too hot, it will kill the yeast, and if it is too cold, the dough will take a very long time to rise.
Step 2: Activate the Yeast
Pour the warm water and milk mixture into a large mixing bowl. Add your honey or sugar along with the instant or active dry yeast. Whisk gently until the yeast and sweet sweetener dissolve into the liquid. Let it sit on your counter for about five to ten minutes until you see tiny bubbles forming on the surface. This step proves that your yeast is alive and ready to make your bread rise nice and tall.
Step 3: Add the Sourdough Discard
Pour your unfed sourdough discard directly into the warm yeast mixture. Use a wooden spoon or a silicone spatula to stir everything together until the discard breaks down and blends into a smooth, milky liquid. It is completely fine if your sourdough discard came straight from the refrigerator, but letting it sit on the counter for a short while beforehand helps everything mix much smoother.
Step 4: Mix in the Flour and Salt
Add all of the all purpose flour and the fine sea salt into your wet mixture. Begin mixing with a sturdy spoon until a shaggy dough starts to form and no dry pockets of white flour remain at the bottom of the bowl. The dough might look a bit messy and rough at this stage, but that is totally normal.
Step 5: Incorporate the Soft Butter
Add the softened unsalted butter into the shaggy dough. Use your hands to work the butter completely into the dough. It will feel sticky and slick for a minute or two as the butter mixes in, but keep squeezing and working the dough until the butter is fully absorbed.
Step 6: Knead Until Smooth
Turn the dough out onto a clean work surface. You do not need to add too much extra flour to your surface, as adding excess flour can make your final bread dry and heavy. Knead the dough vigorously for about eight to ten minutes. Push the dough forward with the heel of your hand, fold it back over itself, and turn it slightly. Repeat this rhythm until the dough becomes silky, smooth, elastic, and soft to the touch. If you poke it gently with your finger, it should spring back slowly.
Step 7: The First Rise
Shape the smooth dough into a neat ball. Lightly grease your mixing bowl with a tiny drop of oil or butter, then place the dough ball inside. Cover the bowl tightly with a clean kitchen towel or plastic wrap to keep the dough from drying out. Place the bowl in a warm, draft free spot in your kitchen and let it rise for about one to one and a half hours, or until it has clearly doubled in size.
Step 8: Shape the Sandwich Loaf
Gently press down on the center of the risen dough to release the trapped air bubbles. Transfer the dough onto your work surface and press it into a flat rectangle that is about the same width as your loaf pan. Roll the dough up tightly from the short edge into a solid log shape, making sure to pinch the bottom seam together with your fingers so it stays closed.
Step 9: The Final Rise
Lightly grease a standard loaf pan with butter or cooking spray. Place your rolled dough log seam side down into the prepared pan. Cover the pan loosely with your kitchen towel and let it rise again in a warm spot for about 45 to 60 minutes. The dough should rise until it sits about one inch above the rim of the pan, forming a classic rounded loaf shape.
Step 10: Bake to Perfection
While your dough finishes its final rise, preheat your oven to 350 degrees Fahrenheit (175 degrees Celsius). Once the oven is fully heated and the loaf has risen nicely above the pan edge, place the pan on the middle rack of your oven. Bake for approximately 30 to 35 minutes. The top of the bread should turn a beautiful golden brown color, and the top crust should sound hollow when you gently tap it with your knuckles.
Step 11: Cool and Brush
Remove the hot loaf from the oven and immediately brush the top crust with a generous layer of melted butter. This extra step keeps the top crust super soft and gives it a gorgeous shine. Let the bread cool inside the pan for ten minutes, then carefully remove it and place it on a wire cooling rack. Allow the loaf to cool down completely to room temperature before slicing into it with a serrated bread knife.
Why This Recipe Is Special
This sourdough discard bread holds a special place in any home baker recipe box because it bridge the gap between quick commercial baking and slow traditional sourdough techniques. Standard homemade bread recipes can sometimes turn out dense or dry, while pure sourdough recipes can take up to two whole days to yield a single loaf. This hybrid method gives you the best parts of both styles: lightning fast speed from the yeast and deep flavor from the sourdough discard.
From a health standpoint, incorporating sourdough discard into a white bread recipe offers distinct benefits. Sourdough fermentation breaks down some of the phytic acid naturally found in flour. Phytic acid can block your body from absorbing important minerals like zinc, magnesium, and iron. When phytic acid is reduced through fermentation, your body can absorb those nutrients much easier. Additionally, the mild acids in sourdough help break down gluten proteins, making the bread far gentler on your digestive system compared to standard, factory made white bread.
The taste and texture profile of this homemade wonder bread is unmatched. Store bought loaves are often packed with artificial emulsifiers, excess sugars, and chemical shelf preservers that leave a strange coating on your tongue. This loaf relies purely on natural whole milk and real butter to create its legendary soft structure. You get a pillowy soft bite with a warm, subtly tangy flavor note that makes every toast slice, sandwich, and snack taste elevated and fresh.
Extra Tips for Better Taste
-
Use Warm Milk: Always make sure your milk and water are gently warmed. Cold milk straight from the fridge slows down your yeast, which means your bread will take much longer to rise and may turn out dense.
-
Brush with Butter Twice: For an amazingly tender crust, brush the top of your dough with a tiny bit of melted butter right before it goes into the oven, and then brush it again the second it comes out of the oven.
-
Let It Cool Completely: Resist the temptation to cut into the hot bread as soon as it leaves the oven. Cutting hot bread traps steam inside and turns the middle gummy. Letting it cool completely locks in the soft texture.
-
Add Whole Milk Powder: If you want an even softer texture that stays fresh on the counter for days longer, mix two tablespoons of dry whole milk powder into your dry flour mixture.
-
Try Herb Butter Toppings: You can mix garlic powder, dried parsley, or grated parmesan cheese into your final butter brush for a savory, flavorful top crust that smells incredible.
-
Store Properly: Keep your sliced loaf in a sealed plastic bag or a wooden bread box at room temperature. Avoid keeping home baked bread in the refrigerator because the cold temperature actually dries out fresh bread faster.
Final Thoughts
Baking a fresh loaf of sourdough discard wonder bread is a simple, comforting activity that fills your kitchen with warmth and provides your family with pure, real food. Instead of throwing away your unused starter, you get to transform it into soft, pillowy slices that elevate your breakfast toast and lunch sandwiches. It takes very little hands on time, requires simple grocery ingredients, and delivers a tasty loaf that beats store bought versions every single time. Give this recipe a try this week, and enjoy the magical feeling of slicing into a loaf of bread you made completely from scratch with your own hands.
Nutrition Details
Here is the estimated nutrition breakdown for this homemade wonder bread recipe. These figures are calculated per slice based on a single loaf cut evenly into 12 standard sandwich slices.
Nutrition Table Per Serving
| Nutrient | Amount Per Slice |
| Calories | 185 kcal |
| Total Carbohydrates | 32 g |
| Dietary Fiber | 1.5 g |
| Total Sugars | 2.5 g |
| Protein | 5.5 g |
| Total Fat | 4 g |
| Saturated Fat | 2.2 g |
| Trans Fat | 0 g |
| Cholesterol | 10 mg |
| Sodium | 320 mg |
| Calcium | 25 mg |
| Iron | 1.8 mg |
| Potassium | 65 mg |
Disclaimer
The nutritional values provided in this article are general estimates meant for informational purposes only. Actual values will vary based on the specific ingredient brands you use, exact measuring techniques, and the actual thickness of your individual bread slices. Everyone’s body processes carbohydrates, gluten, and fats differently, and personal dietary needs can vary based on activity level, health conditions, and overall lifestyle. If you have specific dietary restrictions, gluten sensitivities, or medical health conditions, please consult a qualified healthcare professional or registered dietitian for personalized dietary advice.